Paul made an app to teach blind children to use sight canes
We designed a sensor mount so educators could use his app
Rajiv Perera, Ben Grant

Step 1: Problem Analysis
Paul is an accessibility researcher at Olin with a focus on enabling educators. Over the past 5 years, he has developed a game to make the jobs of special-needs educators easier by giving them an intuitive way to teach sight-cane use with a sensor-integrated app.
In this project, we designed the attachment point between the sensor and sight cane. In the initial phase, we identified 2 main stakeholder groups:
Special needs children
Special needs educators
After numerous discussions with Paul, we identified a couple of important design criteria:
ease-of-assembly: attached to a cane within 30 seconds
tactile experience: no sharp edges or rough plastic
attachment consistency: high strength for impacts and no “play” in attachment
In addition to making sure that we followed all injection-molding guidelines

Step 2: Prototype attachment styles
Previous designs had used zip ties because they were cheap and easy for an engineer to attach securely. We learned that zip ties are actually a nightmare for quick-attachment, ease of use, and tactile feel: after prototyping with velcro, different zip-ties, and watch-straps we settled on rubber-bands.
Why? Rubber bands are easy to attach quickly and consistently, feel good, and vastly reduced sensor noise because the mount was constantly held static because of tension.

Step 3: Analysis-driven design
With the broad-strokes of our design in mind, we began designing around the constraints of our user group while also optimizing for consistency in injection-molding.
We performed flow, sinkage, fill-pressure, and several other forms of analysis to make numerous design decisions. Among them included:
reducing the height of the middle-”feet” of the mount to account for lower plastic volume flowing to the center
consistent wall-thickness of 3mm
placement of the rubberband-securing arms on the corners of the mount

Step 4: CNC Machining
The most difficult step was to CNC machine our part. We received 2 raw blocks of aluminum and machined everything from the injection sprue to the mold-separating cutouts on each long edge of the part.
For the CNC interpreter we used a tormach library in Fusion 360, and manually inputted all tool-lengths, feeds, and speeds. We manually tuned the machine speeds to achieve machining times that allowed this complex design to be machined in under 20 hours.


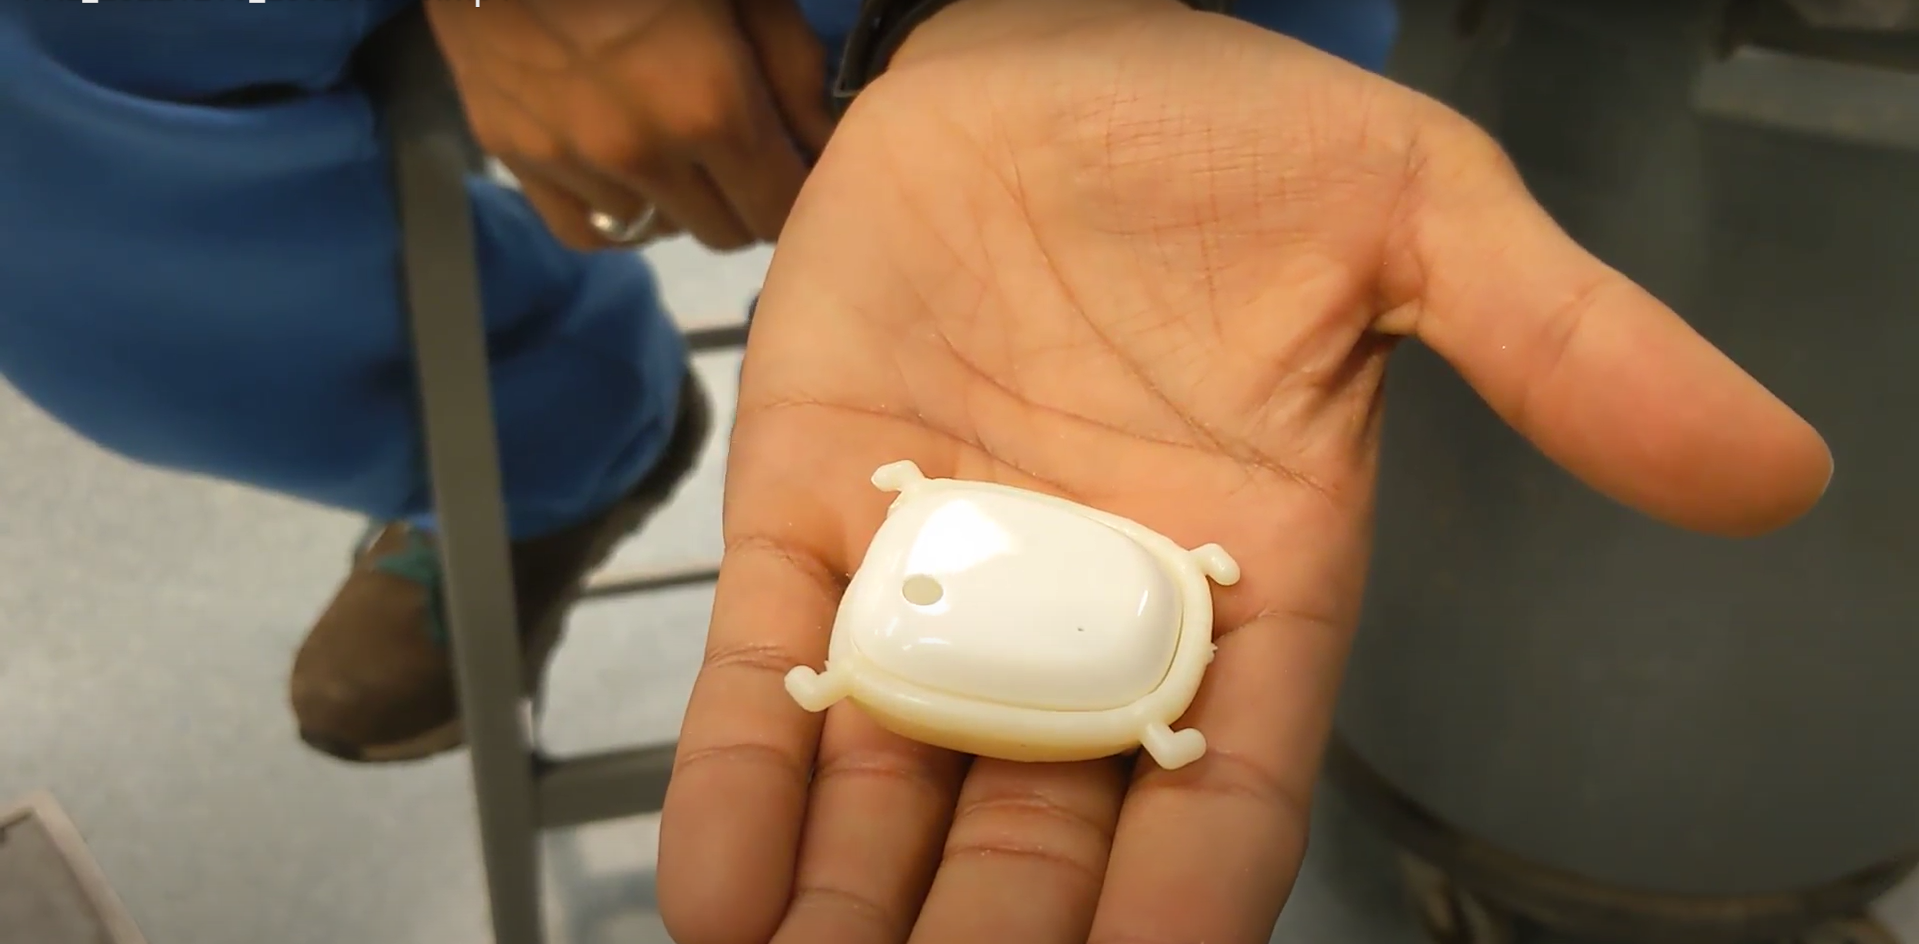
Step 5: Injection Molding & Cleaning
After our molds were completed, we used a Morgan-Press Injection Molder to make 100 mounts for Paul to use for the forseeable future.
We tested each mold for sensor fitment, and trimmed any flash. We tuned this process until it took 1 minute per sensor mount to remove from the mold, accept/reject, and trim.
We began the injections with ABS, but after encountering warping we switched on the fly to PE plastic, which was more flexible and more tactilely satisfying anyway.


Step 6: Glue testing, final assembly
In switching to PE plastic, we now had to test glues to join our ABS sensor body to PE.
We spot tested several glues on PE+ABS as well as ABS+ABS with waste from our injection process, and found UHU-POR adhesive to be quick-drying and effective.
After testing, we glued the first 10 sensors to be sent to educators, and gave Paul the glue to mount future sensors to send out.


Step 7: Happy Paul, Happy Educators!
After putting more than 2 months into this project, we were able to supply paul with 10 mounted sensors to send to educators, and over 100 mounts to use in the future!
I’m glad that we were able to use our manufacturing experience to help a good project advance that was previously stuck in limbo.